How To Make File Backlinks on Mac OS Finder


 0
0
In the internet if you are searching for how to make file backlinks on mac OS finder then you are in the right page. Here I will tell you that how to make file backlinks on mac OS finder. In this page I will show you several ways how to make file backlinks on mac OS finder. So, first thing first.
Go To Share Some of Your Documents with Someone
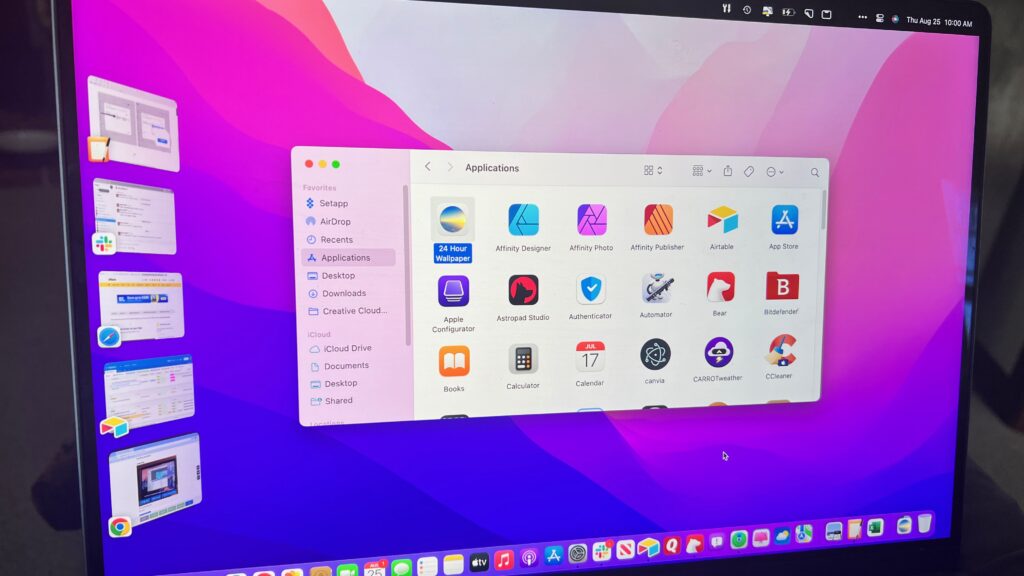
- Open Finder.
- Click the File menu, and choose New Window.
- Select a folder or volume from the left-hand sidebar that you want to make a link for (i.e., Pictures).
- Drag this icon into the right-hand sidebar window that opens up next with links in it (which is now named Links). You should see it appear with your cursor as a blue line once you’ve moved it over there.
- Right-click and select Make Link from the drop-down menu that pops up underneath your cursor. Which should change into a small pointer arrow icon, like so.
Click More Options, Then Click Copy Finder Link
- Open a Finder window.
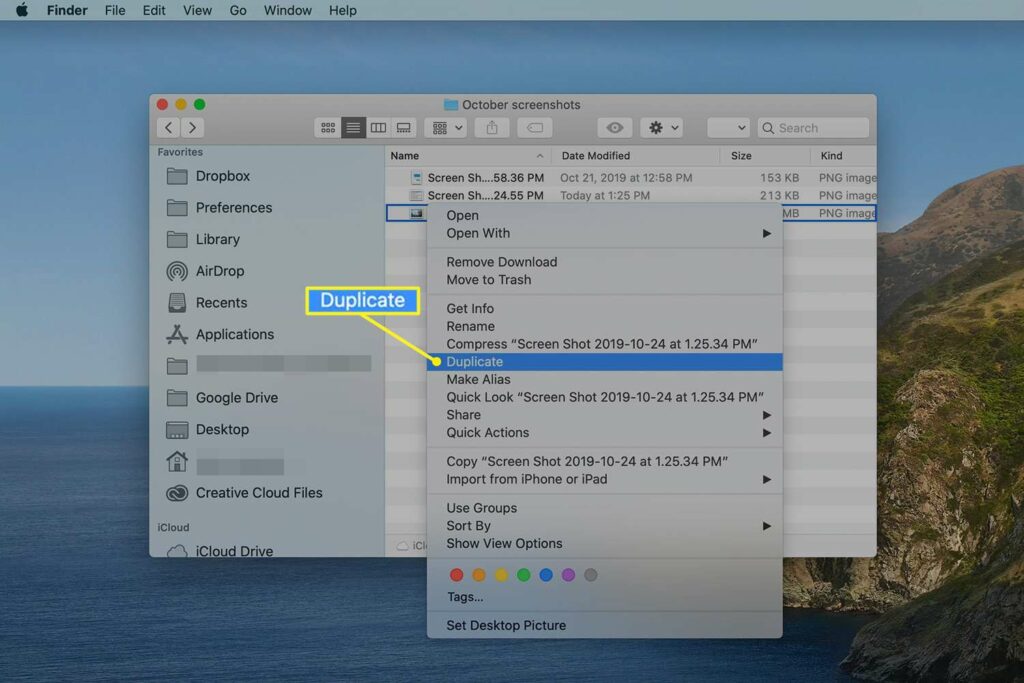
- Select the file or folder that you want to create a shortcut for, then right-click on it and select Make Alias or Copy.
- In the window that appears, rename the alias with what you want to call your shortcut (e.g., My File).
- Drag and drop the alias into your Desktop or a location where you want it stored (e.g., Documents).
- Click Go in Finder and type /Users/ in search bar > Library > Application Support > Dock > System > Apple Double (.dock) > Right click on the file containing the shortcuts you created and hit Show Package Contents> Contents> Resources > com. apple. Finder. plist – double-click to open the plist document with TextEdit
- Add alias at end of ‘items’ without quotation marks
- Save changes
- Restart Finder
Get URL From Copy Link Location Dialog Box
One way to do this is by creating a new Finder window with the link location. Press Command + N or click File > New Finder Window. Enter the URL for the webpage you want to link, and press enter.
This will create a new Finder window linked at the web address you inputted. To rename the browser, click its title bar and type in the desired name.
You can also change its icon by clicking on it and dragging it from one icon folder to another. You can see all your icons by pressing Command + Shift + A while in Finder mode (or Control + Shift + A if using Windows). After choosing an icon. Click anywhere else outside of the Finder window and wait for a few seconds before closing it out.
Insert Your Links into Forums/Social Media Sites.
A great way to create file backlinks is by using the Finder in Mac OS. Here’s what you need to do:
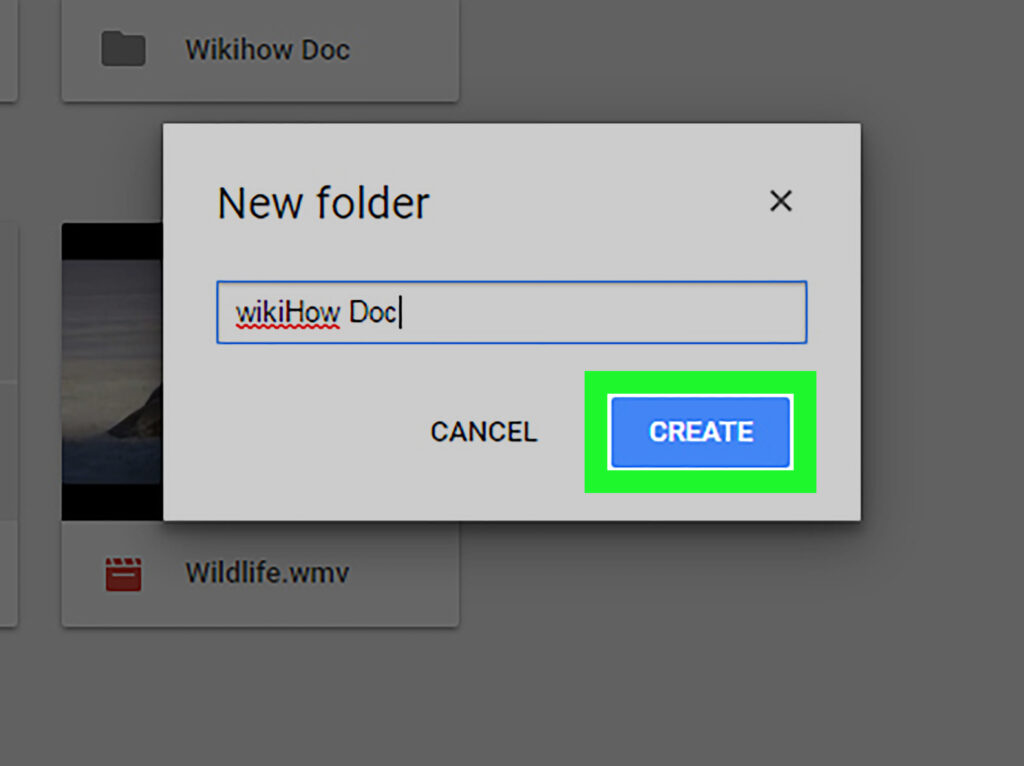
- Create a text document and save it as test
- Open up your Finder window and drag-and-drop the text document onto the desktop, then open it up with TextEdit
- Now go ahead and change the title of the document from test to something else, like a test. Then, when you save it for a second time, the name will change automatically and become a_test
- Now that you have a second copy of your file titled a_test, delete one of them. So, that there is only one copy left (you can’t leave two files named a_test). Repeat this process and save another duplicate, renaming it b_test. Do this again until you get to letter Z (i.e., z_test). Note that you should always delete the duplicate before moving on to the next letter!
- Once all your letters are taken up, repeat steps 1-4 but use numbers instead of letters (i.e., 1a_test, 2a_test…etc.). You should also add an underscore before each number/letter (i.e., _1a_test, _2a_tesrt…etc.).